Minecraft-Inspired 3D Game Engine
The first step of this project was to provide a way of rendering polygons efficiently. I did this through a technique called "chunk rendering", which focuses on one 16x16x128 block area at a time and provides a deterministic framework for rendering polygons. Since Minecraft's geometry is very simple, it is not difficult to determine which faces can safely be ignored when rendering. However, there are quite a few edge cases that need to be considered, such as when a face borders a chunk, or when the geometry is in a chunk that hasn't been generated yet. These made the implementation details more challenging. Furtheremore, since there were so many possible cases, it was very easy to make small errors. I tried to mitigate these difficulties as much as possible by consolidating my code wherever I could. For instance, I created a struct of all 6 possible neighbors of a given block, which allowed any bugs with this setup to be easily tracked and resolved. Following this, I merged with the components created by my team members, which consisted of player physics and terrain generation.
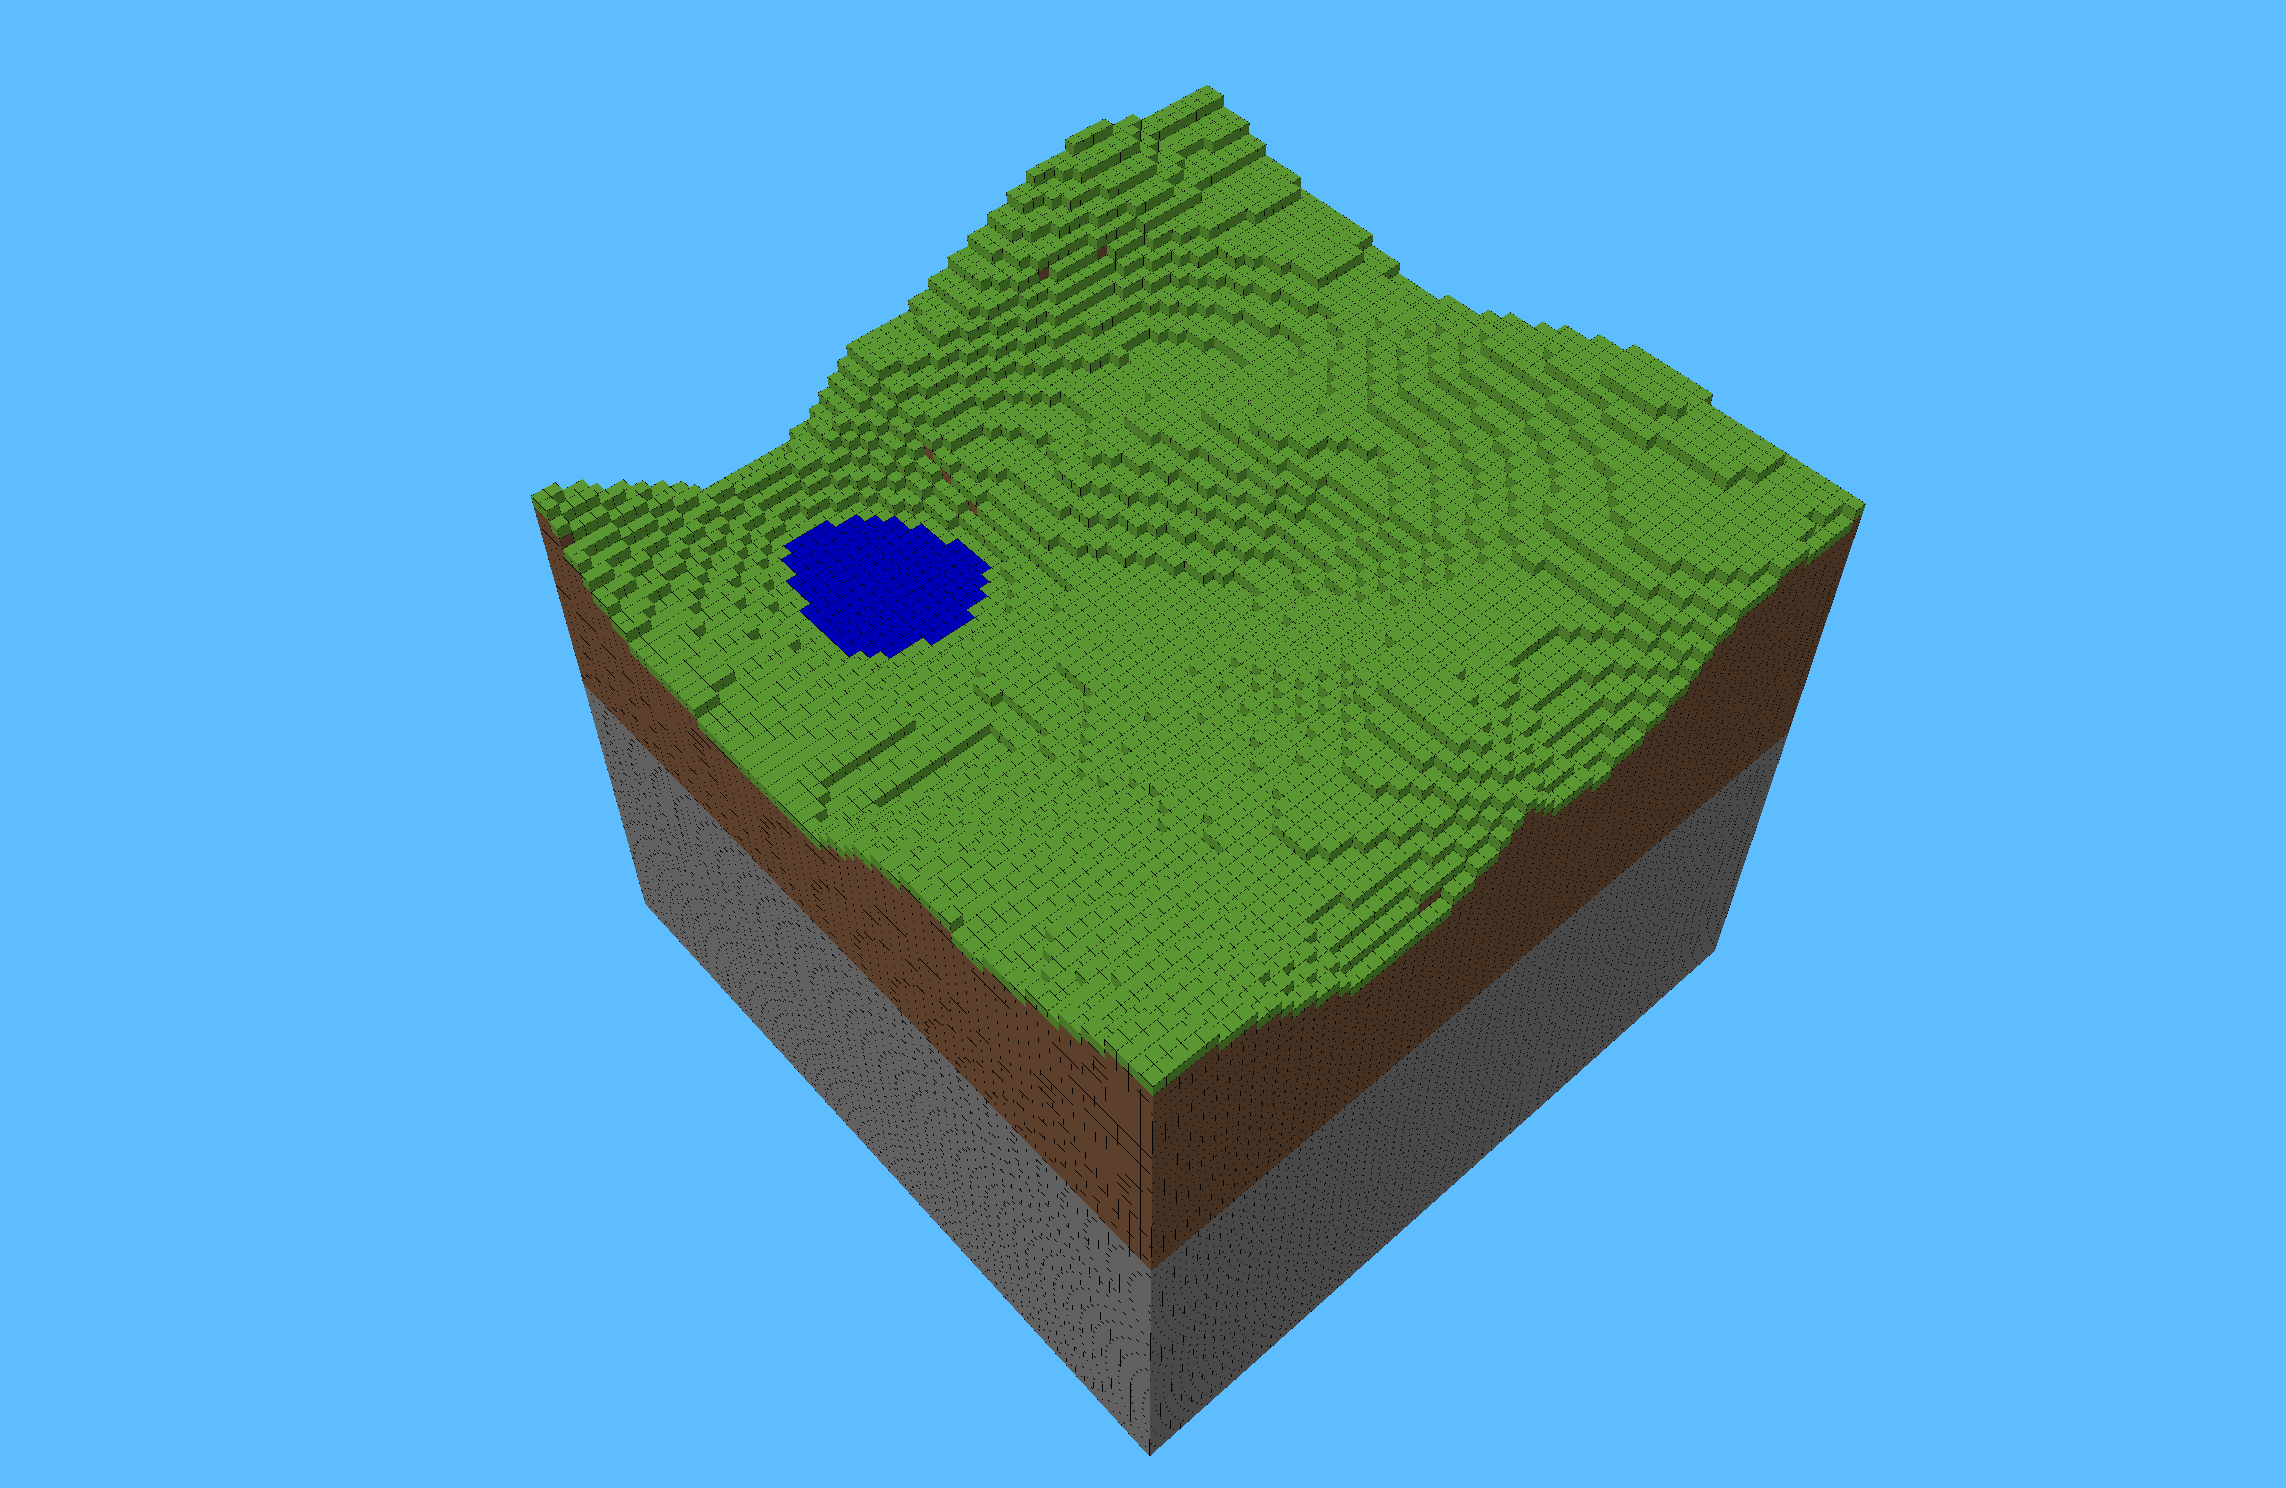
I then increased the complexity of the terrain by adding caves, which presented an interesting challenge. I wanted to make sure the caves were large enough to provide connectivity, but narrow enough so as to not be too hollow. After trying out a few different variations of 3D perlin noise, I ultimately decided to take the absolute value and subtract a normalization value from it. This produced results I was satisfied with. However, the 3D cave generation ended up somewhat reducing the efficiency of the engine, as it used a triply-nested for-loop to calculate the noise value at each block. If I had more time, I would move these operations to the GPU.
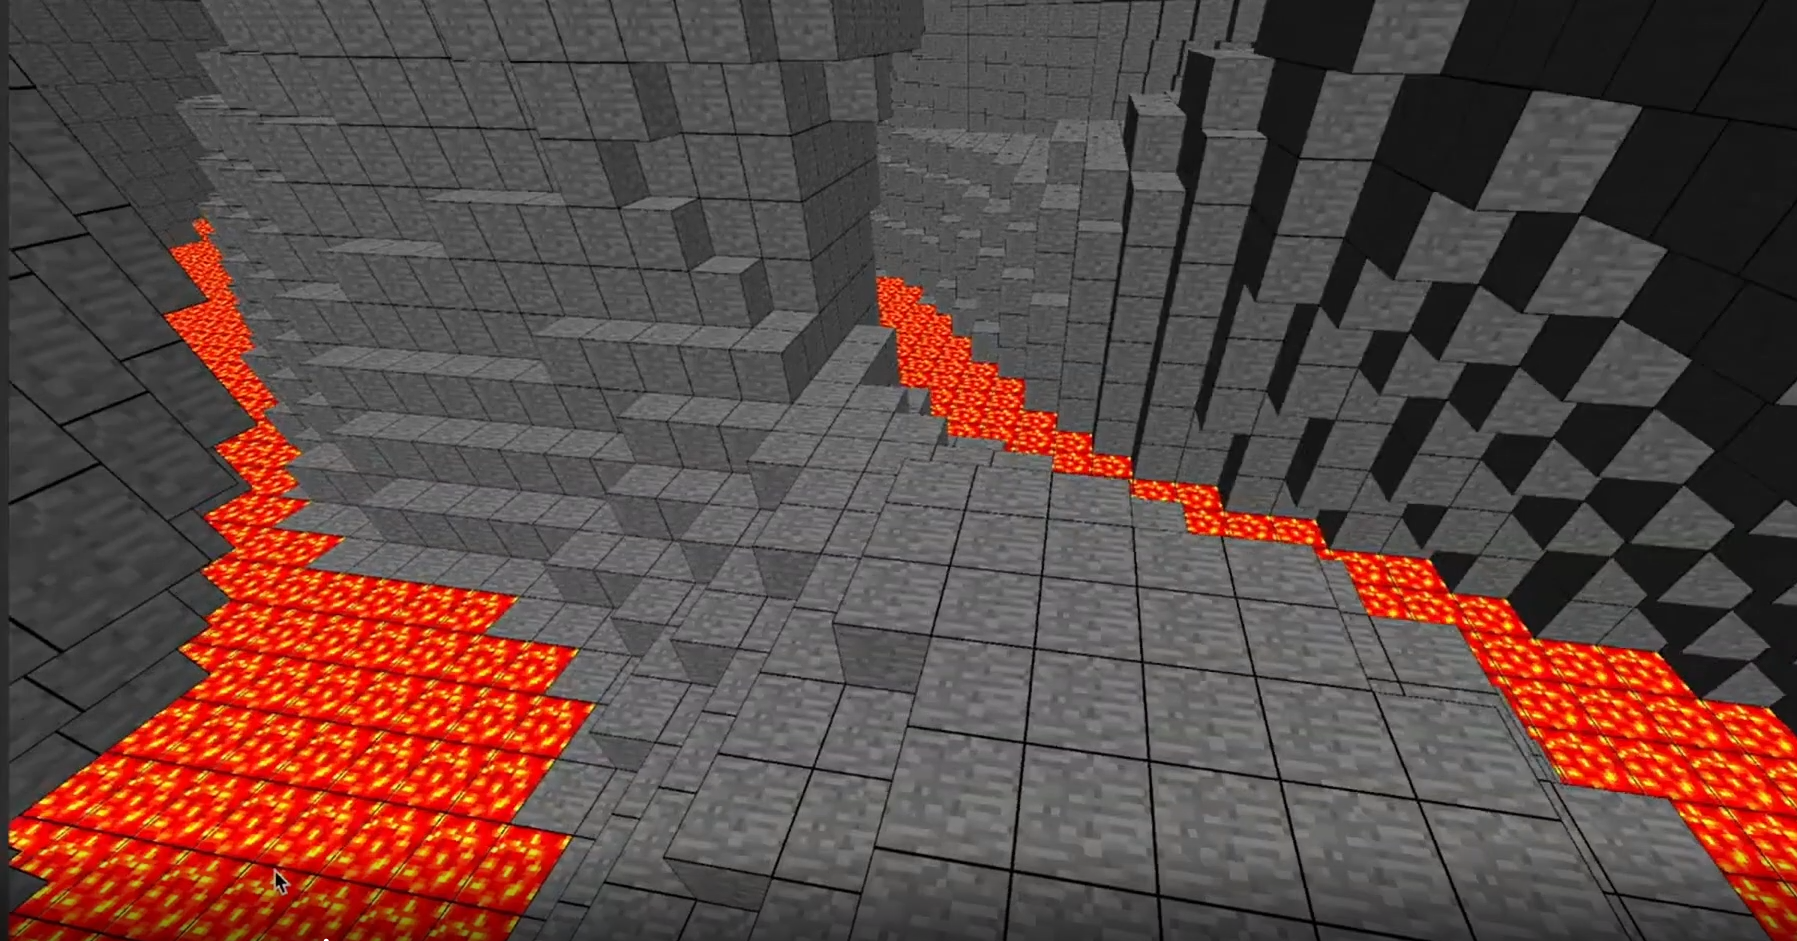
I then implemented realistic player interaction with liquids present in the terrain. Adding new collision physics was straightforward once I was able to understand the physics my team member had already implented. Somewhat more difficult was adding the post-process shaders for when the player entered water or lava, but by reviewing some guides for OpenGL shader use, I was able to get it working. One interesting facet of this problem was getting the right values to tint the screen with, though in the end I was able to achieve a decent effect by multiplying the input rgb's by a vector of weights.
Finally, I moved on to improving the player's user interface. The first improvement I made was adding a cross-hair to indicate where the player was looking. After taking some time to think about how to implement this, I thought of an approach that ended up being quite straightforward. Directly in the post-processing shader I added a 'bounding box', and inside this bounding box I added two perpendicular rectangles as further bounds. Inside of these two rectangles I inverted the color and took the minimum color channel to output a greyscale color.
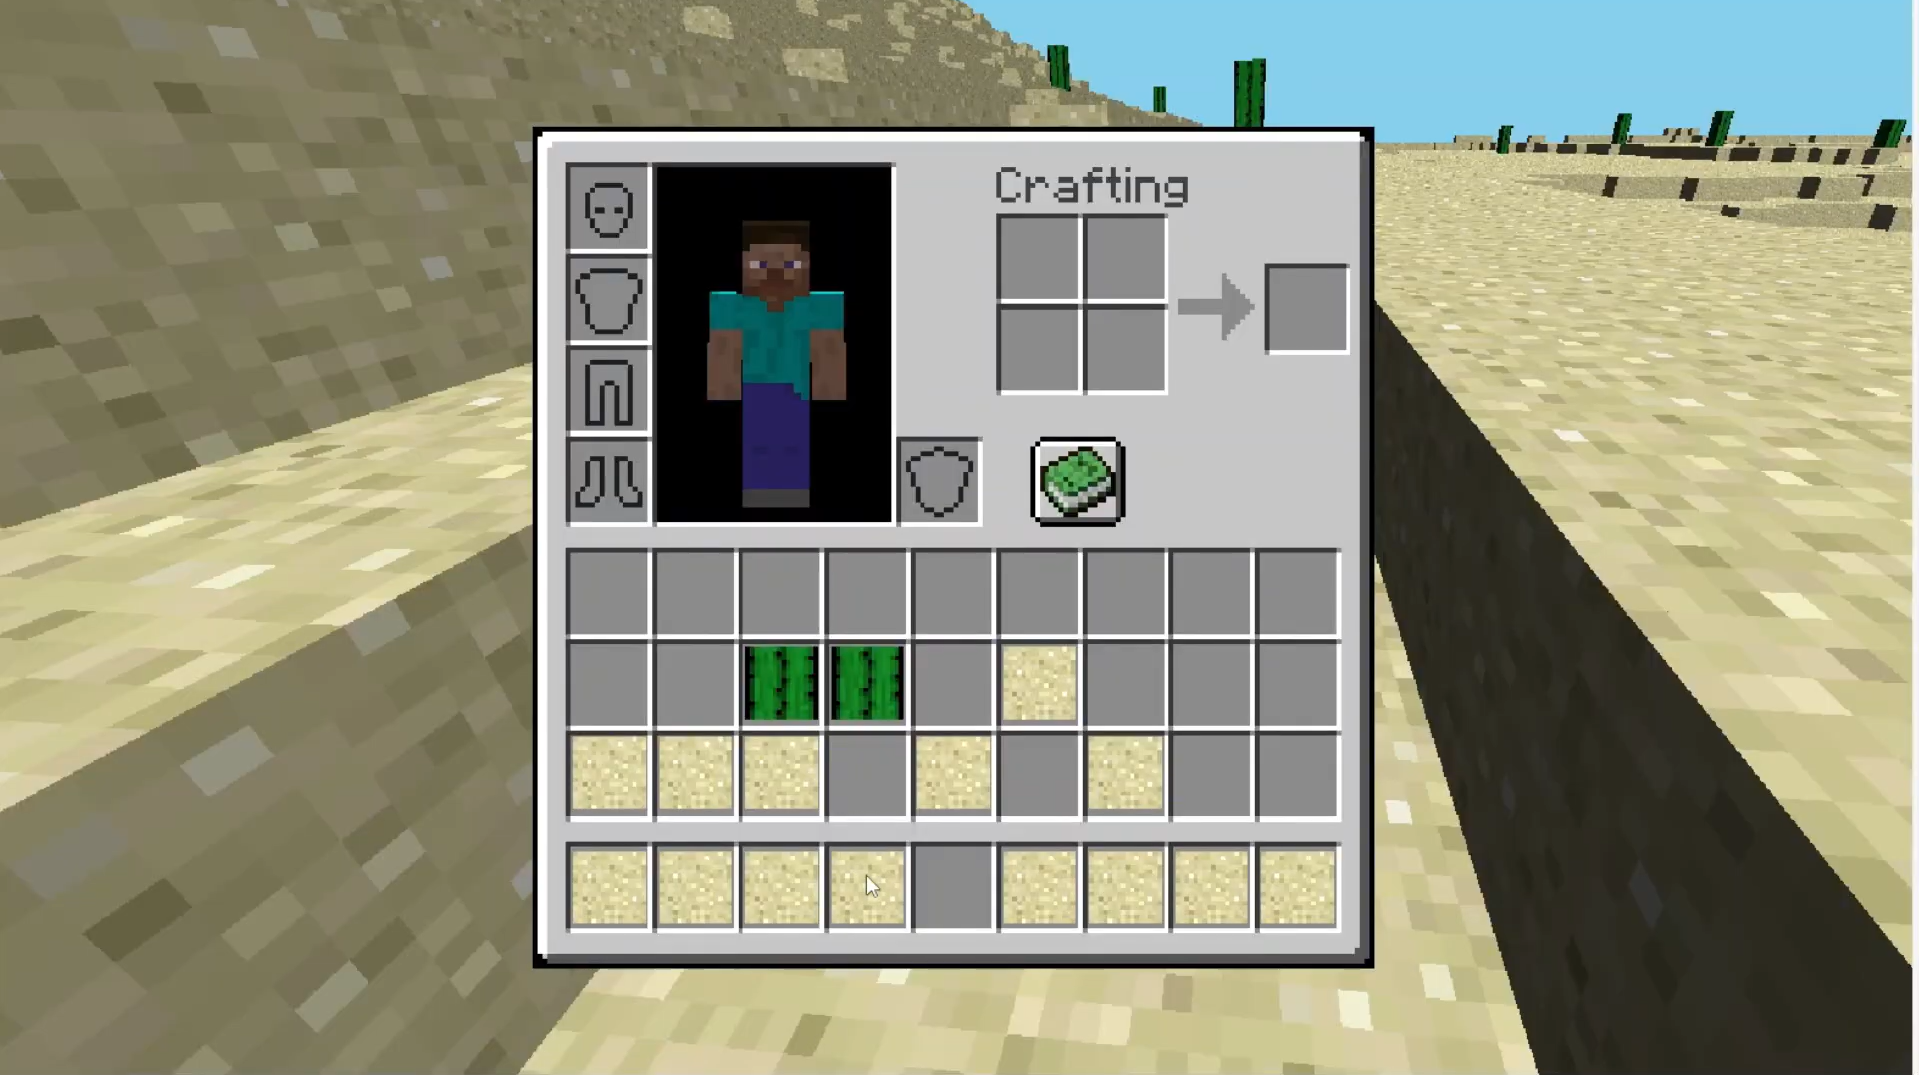
The next feature I implemented -- the Player's inventory -- required significantly more work. I decided to implement this because it allowed for our game to have greatly increased interactivity. Without an inventory, the player is somewhat limited in the ways they can interact with the world, but being able to store blocks for later use allows our game to offer the sandbox functionality that Minecraft is known for. While I had a somewhat clear idea of how I wanted to implement the backend, implementing the frontend with OpenGL proved to be a significant challenge. I had to account for many things I overlooked while planning, such as decoupling the mouse movement of the inventory from the normal mouse movement used for computing the player's camera transformations. Also, OpenGL doesn't really provide any primitive drawable objects the way more beginner-friendly graphics libraries do, so I had to get creative to render things which I had thought would be quite simple, such as repurposing the cauldron bottom-face texture for indicating which item was selected in the player's inventory (this is a bit hard to explain, but you will see what I mean if you look closely at the player's inventory in the video demo). Overall, I was quite happy with the final result.
Go Back